Last updated November 18, 2026
Free written scope consultation - allowances, timeline, and change-order rules on paper before a single trade is scheduled
Driveway & Pavers Troubleshooting: Common Problems and How to Fix Them
If two or three pavers are rocking but the surrounding field is solid, the problem is almost never the pavers. It’s a localized base void, usually from a slow irrigation leak two feet below that nobody’s noticed yet. Most paver failures trace back to one of four root causes – bedding sand, base, subgrade, or surface – and the symptom you see on top rarely matches the layer that’s actually failing. Repair the wrong layer and the failure returns inside a year. In Palmdale, where we get 300-plus days of sun, big day-night temperature swings, and soil that shifts with irrigation, that lesson gets expensive fast. This guide teaches you to read the failure pattern with a screwdriver, a level, and five minutes before you call anyone.
Quick Answer
Most driveway paver problems – rocking units, sunken patches, cracking, white mineral staining – come from one of four failure layers: the bedding sand, the compacted base, the subgrade soil beneath it, or the paver surface itself. Diagnose the layer before you repair the symptom, because repairing the visible unit without fixing the base below it costs the same money twice. A genuine fix resets the affected layer; a cosmetic fix buys you about a season.
Styles & brands we work with
- Kitchen remodeling
- Bathroom remodeling
- Home additions & ADU
- Roofing
- Windows & doors
- Driveway & pavers
- Fence
Table of Contents
- How to Diagnose Which Layer Is Failing
- What Cracking Patterns Tell You
- Resetting Sunken Pavers Without Ruining Your Polymeric Sand
- Efflorescence: Cosmetic Stain or Water Problem?
- Edge Restraint and the Joint Cracks It Causes
- When a Repair Is Worth It and When It Isn’t
- Common Mistakes to Avoid
- Frequently Asked Questions
How to Diagnose Which Layer Is Failing
Before you spend a dollar, find out which layer is moving. There are four, and they fail differently.
- Surface failure: the pavers themselves are cracked, chipped, or spalling. The field around them is flat and stable. This is often a point-load or freeze-thaw problem, not a structural one.
- Bedding sand failure: pavers rock and settle, but the base underneath is still firm. The sand layer has migrated or washed out. Common where water is running across the surface and the joints aren’t sealed well.
- Base failure: a bowl-shaped depression over several square feet. The compacted gravel layer has lost its density, usually from water infiltration or undersized base depth at install. In Palmdale, where summer surface temperatures on exposed pavers can push well past 140°F, the highest-traffic wheel paths are often the first to show base settlement.
- Subgrade failure: widespread rocking, and the whole section flexes when you step on it. The soil beneath the gravel has shifted, usually from a slow water leak or clay-rich soil that expands and contracts. This is the expensive one.
Here’s the five-minute test. Press a flat-head screwdriver into the joint beside a rocking paver until it reaches the bedding sand. If it slides in several inches without resistance, the sand is loose and thin. Push down on the paver with one foot and watch the adjacent units – if they move with it, the problem is wider than one unit. Then lay a four-foot level across the affected area in two directions; a dip that shows up in both directions is a base or subgrade issue, not just surface. A dip that appears only in one is often just bedding sand.
What Cracking Patterns Tell You
Cracks are readable. The pattern tells you where the stress came from.
A single-unit fracture – one paver cracked in half or into a starburst – usually means point load or freeze damage. Something heavy sat on one small area, or water froze in a hairline joint and split the unit. It’s typically local and cheap to fix: lift and replace the one unit. Before you do, look at what was on it. If it was a vehicle jack or a trailer tongue, the crack repeats unless something below changed.
Linear cracking along a joint line, following a straight seam, is a different story. That’s almost always edge restraint failure or a missing expansion joint. The paver field is trying to expand and it’s pushing against the edge or against another slab with nowhere to go. In our experience across Palmdale – from Rancho Vista to Anaverde and into the older sections near Palmdale Boulevard – the most common version is a concrete edge restraint that was poured too shallow or has heaved, plus a missing expansion gap between the paver driveway and the adjacent concrete apron or garage slab. The paver field expands against that fixed edge and the crack splits along the weakest joint.
Spiderweb or mosaic cracking across a whole section points to base movement. The base has lost compaction or is sitting on soil that’s expanding.
Circular cracks around a post, drain, or utility cover usually indicate a point of localized settlement where the base wasn’t compacted around the penetration.
A quick rule of thumb from the job: if the crack is confined to one unit, replace the unit. If it crosses joint lines, look at the edge and the base before you touch the surface.
Resetting Sunken Pavers Without Ruining Your Polymeric Sand
This is where a lot of homeowners get stuck. The polymeric sand in the joints – the sand that hardens and helps seal out water – sets up like grout. If you pry up pavers without protecting the surrounding joints, you crack or separate the sand in a wide halo around your repair and you’re redoing joints far beyond the one spot you meant to fix.
The right sequence for resetting a sunken area:
- Cut the joints first. Score the polymeric sand lines around the affected pavers with a stiff putty knife or a masonry blade on a small angle grinder before you lift anything. Cut only the joints you have to open, not the whole field.
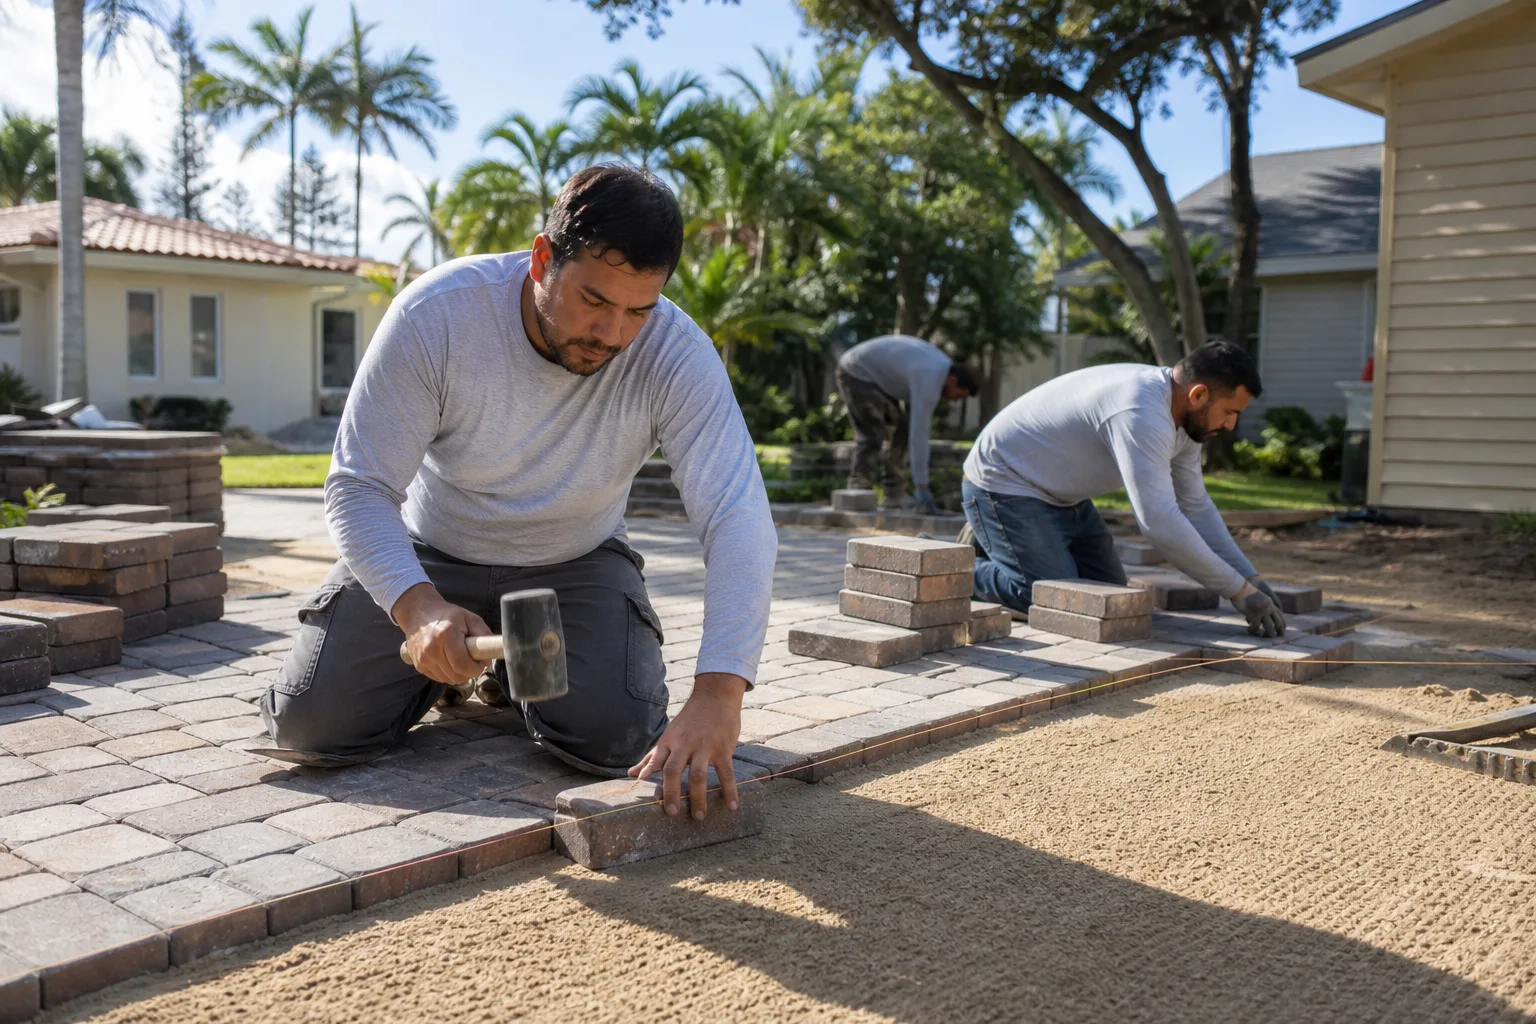
- Lift the pavers with two hands and a broad pry or a paver puller, working from the outside in, and set the units on a flat surface like a sheet of plywood so the edges don’t chip.
- Expose the bedding sand and scrape it back until you reach firm base. If the sand is loose or washed, go deeper to check base compaction.
- Recompact the base with a plate compactor or hand tamper. If the dip is more than about half an inch, add a small amount of crushed aggregate, recompact in thin lifts, and check with the level again.
- Rebed the sand, 1 to 1.5 inches, screed it flat, and reset the pavers to match the adjacent grade.
- Re-sand the joints with fresh polymeric sand, then wet per the manufacturer’s instructions. Re-application is fine on the major brands, including Belgard and Techo-Bloc paver systems, but read the specific product data sheet – some set fast in direct sun and shouldn’t be wetted above about 85°F, which in Palmdale summer means early morning only.
The caution: if the sunken pavers are near a sprinkler head, a drainage line, or the base of a downspout, look for the leak before you re-set. Reset pavers over an active water source and you’ll be back in the same spot next spring. Fix the water first.
Efflorescence: Cosmetic Stain or Water Problem?
Efflorescence is the white, powdery mineral bloom you sometimes see on paver surfaces. It’s salts migrating to the surface as water moves through the unit and evaporates. The question is whether it’s a one-time bloom from installation or a recurring sign that water is getting where it shouldn’t.
Cosmetic efflorescence usually appears as a light, patchy haze in the first months after install and fades with time or a single cleaning. It happens because the paver was wet when it was laid or the sand was still curing. A dry brush, or a proprietary efflorescence cleaner, handles it.
A sign of water infiltration is the version that keeps coming back, especially in the same spots – near a downspout, along the low edge of the driveway, or on the shaded side of the house. That recurring pattern means water is entering the pavement body and pushing salts out as it dries. If you clean and it returns in the same place within a couple of months, the water source is the real problem. Trace it to the grading, a missing downspout extension, or an irrigation head spraying onto the pavers. In Palmdale’s climate, this pattern is most visible in the cooler months, when nights drop below 50°F and morning condensation sits on the surface for an hour after sunrise.
One detail worth knowing: annual sealing helps reduce the return of efflorescence, but it doesn’t fix the source. Sealant over a wet paver traps moisture and makes the problem worse. Dry it first, fix the water, then seal.
Edge Restraint and the Joint Cracks It Causes
A paver driveway with no edge restraint, or a failed one, is going to start spreading at the borders within a couple of seasons. The paver field expands and contracts with temperature and pushes outward. Without a solid edge, it opens up joints across the entire surface.
Signs your edge restraint is failing:
- Widening joints along the perimeter, usually the outer row
- Individual pavers walking sideways and no longer lining up
- A visible gap between the paver field and the adjacent concrete curb, lawn edging, or garage apron
- Concrete edging that has lifted or cracked and separated from the pavers
Newer installations in Palmdale should have a concrete curb or an engineered plastic edge restraint anchored with spikes, set on compacted base, not on bare soil. If you’re seeing movement at the edge, the fix is to lift the perimeter pavers, reset the restraint to proper depth on compacted base, and reinstall. Doing it right here prevents a cascade of repair money down the line. This is also one of the reasons a paver driveway is worth treating as a system – the field, the edge, the base, and the drainage all move together. The same principle applies to fence posts, which share the same shallow base and soil conditions in this part of the Antelope Valley.
When a Repair Is Worth It and When It Isn’t
Here’s the honest math. Homeowners in Palmdale regularly ask us whether to reset twenty pavers or tear out the whole driveway. The answer usually hinges on how much of the field is affected and whether the base is the problem.
Rough dollar ranges for a 400 to 600 square foot residential driveway area in the Antelope Valley market:
- Single unit replacement: $75 to $200, depending on paver type and brand. Belongs in the “repair” column every time.
- Small reset (under 100 sq ft), including sand and polymeric re-joint: $600 to $1,400.
- Targeted base repair and reset (100 to 200 sq ft): $1,500 to $3,500, assuming the subgrade is sound under that section.
- Full driveway replacement on a similar footprint: $7,000 to $14,000 for standard concrete pavers, higher for premium Belgard or Techo-Bloc lines with a full base and edging system.
The threshold rule: if the affected area is under about a third of the total field and the subgrade is holding, repair. If more than half the field is moving, or if the base is failing in multiple disconnected spots, replacement is usually the better spend because piecemeal repairs often find another failure the next season. Ask the contractor to walk you through what they found and put it in writing with photos – “probably the base” isn’t a diagnosis.
Common Mistakes to Avoid
- Replacing cracked pavers without checking the base. The new unit usually cracks within a season because the same load or settlement is still there. Identify the pattern before you replace, not after.
- Topdressing with sand to “fill” a dip. This hides the symptom for a few months and washes out at the first rain. A dip deeper than three-eighths of an inch means something below the surface needs attention.
- Pressure-washing polymeric joints at full blast. The sand is not concrete. High pressure strips it out and starts the cycle of joint migration and paver movement. Use a fan tip at low pressure, or a dedicated surface cleaner, not the zero tip.
- Wetting fresh polymeric sand in full Palmdale afternoon sun. The sand cures too fast, hazes over, and doesn’t fully compact. Early morning or evening only, and read the product sheet – some brands set best under 85°F.
- Sealing over existing efflorescence or a damp surface. The sealant traps moisture, and the white staining returns under the film. Clean, dry, fix the water source, then seal.
- Ignoring irrigation leaks in the area. A slow drip from a pop-up head aimed at the driveway, or a leaking lateral line under the adjacent lawn, is the most common cause of localized base voids we find on Palmdale properties. It’s the cause, not the pavers.
- Skipping the expansion joint between the paver field and the concrete apron. This is the single most common reason new paver driveways crack along the garage edge. The gap is not cosmetic; it is the pavement’s relief valve.
See the difference
 Before
 After
 Before
 After
 Before
 After
When to Call a Professional
Call us when the diagnosis goes past the surface. If more than one or two units are rocking, if a section is visibly dipping, if cracks are crossing joint lines, or if the edge is spreading, the base or subgrade needs to be opened up and looked at with a level and a tamper, not a rake. If you’re not sure how to identify which layer is failing, a site visit takes 30 minutes and prevents the wrong repair. Rowan Construction Group Palmdale offers free estimates in Palmdale – call (844) 320-8244. We work the same way on a paver repair as on a full driveway install: a written price, a written scope, and a documented photo record of what we found and what we did, so you can see the condition of the base before anyone starts. Our technicians have up to 19 years of experience with residential paver systems across the Antelope Valley.
Frequently Asked Questions
A small reset of 100 square feet or less, including fresh bedding sand and polymeric re-joint, runs $600 to $1,400 in the Palmdale market. A targeted base repair with reset goes $1,500 to $3,500. Full replacement on a similar footprint runs $7,000 to $14,000 for standard pavers. Call (844) 320-8244 for an exact written quote – estimates are free.
Because the base under them never got compacted. A reset that rebeds sand but doesn’t recompact the gravel base leaves the same loose layer underneath, and the pavers rock again within a season. The fix has to go down to firm base and be compacted in thin lifts, then leveled before re-bedding.
Yes. Score only the joints you need to open with a putty knife or masonry blade before lifting the affected units, then re-sand just those joints. The surrounding field’s polymeric sand stays intact if you cut a clean line and don’t pry against the neighbor units. Spot re-application works on the standard brand products, though you should confirm the specific product allows re-application.
Sometimes. A light haze in the first months after install is cosmetic efflorescence and fades with cleaning. If the white staining keeps returning in the same spots – especially near a downspout, low edge, or irrigation head – the real issue is water infiltration, and cleaning won’t fix it. Trace the water source before sealing.
They handle it well if they’re installed right. The concrete pavers themselves are extremely durable in the heat, and with proper base depth and edge restraint they hold up to the sun and wind. The failures we see in Palmdale are almost always water-related or base-depth problems, not the paver material itself, which is why diagnosis matters more than the brand on the tag.
When the affected area is more than about half the field, or when the base is failing in several disconnected spots. Piecemeal repairs in that situation tend to find another failure the next season, and the cumulative cost can exceed a full replacement. Call (844) 320-8244 and we’ll walk the driveway with you and put the numbers for both in writing before any work starts.
The Bottom Line
Read the failure pattern before you spend. A single rocking paver with a solid field is a base void. A crack that crosses joints is an edge or expansion problem. A recurring white bloom is water finding its way under the pavement. A dip that flexes the whole section is subgrade movement. Those four diagnoses carry the whole guide, and they’re the reason repair money spent in the wrong layer gets spent again inside a year. Fix the water first, open the smallest area that answers the question, and put the repair scope in writing before a shovel goes in. If you’re ready to move from diagnosing to pricing, the same team handles larger hardscape scopes and residential projects across Palmdale – call (844) 320-8244 for a free estimate and a written, line-item price before any work starts.
Written by the team at Rowan Construction Group Palmdale.