Last updated November 18, 2026
Free written scope consultation - allowances, timeline, and change-order rules on paper before a single trade is scheduled
Driveway & Pavers Maintenance Checklist for Palmdale Homeowners
The leading cause of paver failure in high-desert climates isn’t the pavers themselves. It’s the polymeric joint sand. In Palmdale, that sand takes a beating no coastal installation ever sees: a UV index that sits at 10 or higher for months, single-digit humidity, and a thermal swing that can run roughly 90°F between a July afternoon and a January night. UV-degraded sand washes or blows out within about two years, the joints open, and the base aggregate starts shifting with every freeze-thaw cycle. This checklist turns that climate reality into month-specific tasks, named products, measured pass/fail thresholds, and a cost table for doing it yourself versus hiring it out.
Quick Answer
A Palmdale driveway needs inspection twice a year – once in late spring before the summer heat and once in late fall before the first freeze – plus polymeric sand re-application roughly every two years and a UV-rated sealer every two to three years. Replace any paver that has displaced more than 1/4 inch vertically or shifted more than 3/8 inch horizontally, and re-set edge restraint before summer, not after.
Styles & brands we work with
- Kitchen remodeling
- Bathroom remodeling
- Home additions & ADU
- Roofing
- Windows & doors
- Driveway & pavers
- Fence
Table of Contents
- Why Palmdale’s Climate Breaks Standard Maintenance Schedules
- The Bi-Annual Inspection Checklist (With Measurements)
- Polymeric Sand: Re-Application, Compaction, and Cure Times
- Edge Restraint: The Step Most Guides Skip
- Sealers Rated for UV Index 10+ and How Often to Apply
- Scaling, Efflorescence, and When to Replace vs. Seal
- DIY Supply Costs vs. Contractor Quotes in Palmdale
- The Palmdale Seasonal Maintenance Calendar
Why Palmdale’s Climate Breaks Standard Maintenance Schedules
Most paver maintenance guidance is written for mild coastal conditions – the kind of advice that suits Santa Monica or San Diego, where the temperature rarely swings more than 30°F in a day and humidity stays high enough that joint sand stays put. Palmdale is not that. We’re on the high desert side of the San Gabriel Mountains, in the Antelope Valley, where summer highs regularly push past 100°F and winter nights drop into the 20s and 30s. That spread is the whole problem.
Every material in a paver system expands and contracts at a different rate. The concrete pavers, the bedding sand, the base aggregate, and the joint sand all move, but not in unison. Over a single year in Palmdale, a driveway may cycle through dozens of freeze-thaw events on winter nights and then bake at 105°F in July. The joints are where the stress shows up first. If the polymeric sand has UV-degraded and washed out, there is nothing holding the field together, and the base starts to migrate.
Add the wind. Antelope Valley wind events lift fine dust and grit that works into open joints and abrades sealer. Driveways near the foothills – Quartz Hill, parts of Rancho Vista, and the streets backing up toward the hills east of the Antelope Valley Freeway – see more grit loading than flat lots in central Palmdale. That means more frequent joint inspection, not less.
None of this makes pavers a bad choice. Clay and concrete pavers are still one of the most repairable surfaces you can put on a driveway, because individual units lift and reset. But the maintenance rhythm has to match the climate. A coastal schedule applied to a Palmdale driveway is how you end up re-basing a whole apron five years in. For the installation side – base depth, edge restraint type, drainage slope – see our Driveway & Pavers in Palmdale page.
The Bi-Annual Inspection Checklist (With Measurements)
Walk the driveway twice a year with a tape measure, a straightedge (a 4-foot level works), and a phone camera. Photograph what you find so you can compare against the next inspection. Here are the actual thresholds we use when assessing a paver surface.
- Joint gap width: Joints should hold sand at roughly 1/8 inch to 3/16 inch. A joint wider than 1/4 inch with visible void is a re-sand trigger, not a wait-and-see.
- Vertical displacement: Any single paver sitting more than 1/4 inch proud of or below its neighbors is a trip hazard and a base-settlement signal. Under 1/4 inch, monitor. Over 1/4 inch, lift and reset.
- Horizontal shift: More than 3/8 inch of lateral movement in the field, or any visible opening along the perimeter, means edge restraint has failed or been undermined.
- Surface scaling: Light scaling – a thin flaking skin you can scratch with a coin – can be sealed. Scaling deeper than about 1/8 inch, where the aggregate is exposed and the surface feels crumbly, is a replacement call, not a sealing call.
- Efflorescence: White mineral bloom is common in the Antelope Valley’s alkaline soil and hard water. Surface bloom that brushes away is cosmetic. Bloom that returns within weeks after cleaning means moisture is migrating from below, and you have a drainage question.
- Sand depth: Probe a few joints with a small screwdriver. If the sand is less than 1/4 inch below the chamfer, plan a re-sand.
Note anything that changes between inspections. A paver that was flat in April and is 1/4 inch up in October is telling you the base below it is moving, and that’s a repair, not a cosmetic fix. We see this most on driveways where the original base was under-compacted or where a downspout dumps onto the apron.
Polymeric Sand: Re-Application, Compaction, and Cure Times
Polymeric sand is the binder that locks the field together. In Palmdale, expect to re-apply every two years, sometimes sooner on south- and west-facing driveways that take the full afternoon sun. Here is the procedure, with the steps that matter in low humidity.
- Clean the joints. Remove old, loose sand with a screwdriver or a shop vac. Do not re-sand over a failing layer – the new sand won’t bond to the old.
- Dry the surface. Polymeric sand will not cure properly on a damp surface. In Palmdale, a morning application after overnight dew needs to wait until the pavers are fully dry to the touch.
- Sweep in. Pour and sweep the sand into the joints at a 45-degree angle to the paver chamfer. Fill to about 1/8 inch below the top edge. Overfilling leaves a haze; underfilling leaves the joint shallow.
- Compact. Run a plate compactor with a rubber pad over the field. This is the step most homeowners skip and the reason DIY re-sands fail. Compaction drives the sand into the joint void and seats it against the paver walls.
- Top off. Re-sweep and top off any joints that settled during compaction.
- Mist and cure. A light mist – not a soak – activates the polymer. In Palmdale’s low humidity, the sand skins over in about 15 to 30 minutes and fully cures in 24 hours. Keep traffic and sprinklers off for a full day. Do not apply if rain is forecast within 24 hours; the polymer will wash out before it sets.
Choose a polymeric sand rated for high UV exposure. Products formulated for the Southwest desert hold up better than general-purpose bags, and the difference shows up in year two. If you’re also maintaining a perimeter wall or fence line, the same grit-and-UV logic applies; our Fence Installation in Palmdale guide covers that side of the property.
Edge Restraint: The Step Most Guides Skip
The perimeter is the most neglected part of any paver installation, and in Palmdale it’s the first thing to fail. Edge restraint – the aluminum, steel, or plastic channel that holds the outermost course – is what keeps the field from creeping outward. Most generic paver guides never mention it, because in mild climates it holds for decades. In a place with a 90°F daily swing, it needs an annual check.
Walk the perimeter with a hand and press on the outermost course. A paver that rocks or moves when you press it is telling you the restraint has loosened. Look for:
- Restraint lifted or pulled away from the concrete or asphalt apron at the street.
- Spikes or anchors that have backed out of the base.
- Gaps between the restraint and the paver edge, where sand has washed out.
- Any spot where the apron has heaved – the classic Antelope Valley cue is a raised lip right at the transition to the street, a sign the base under the restraint has absorbed water and expanded.
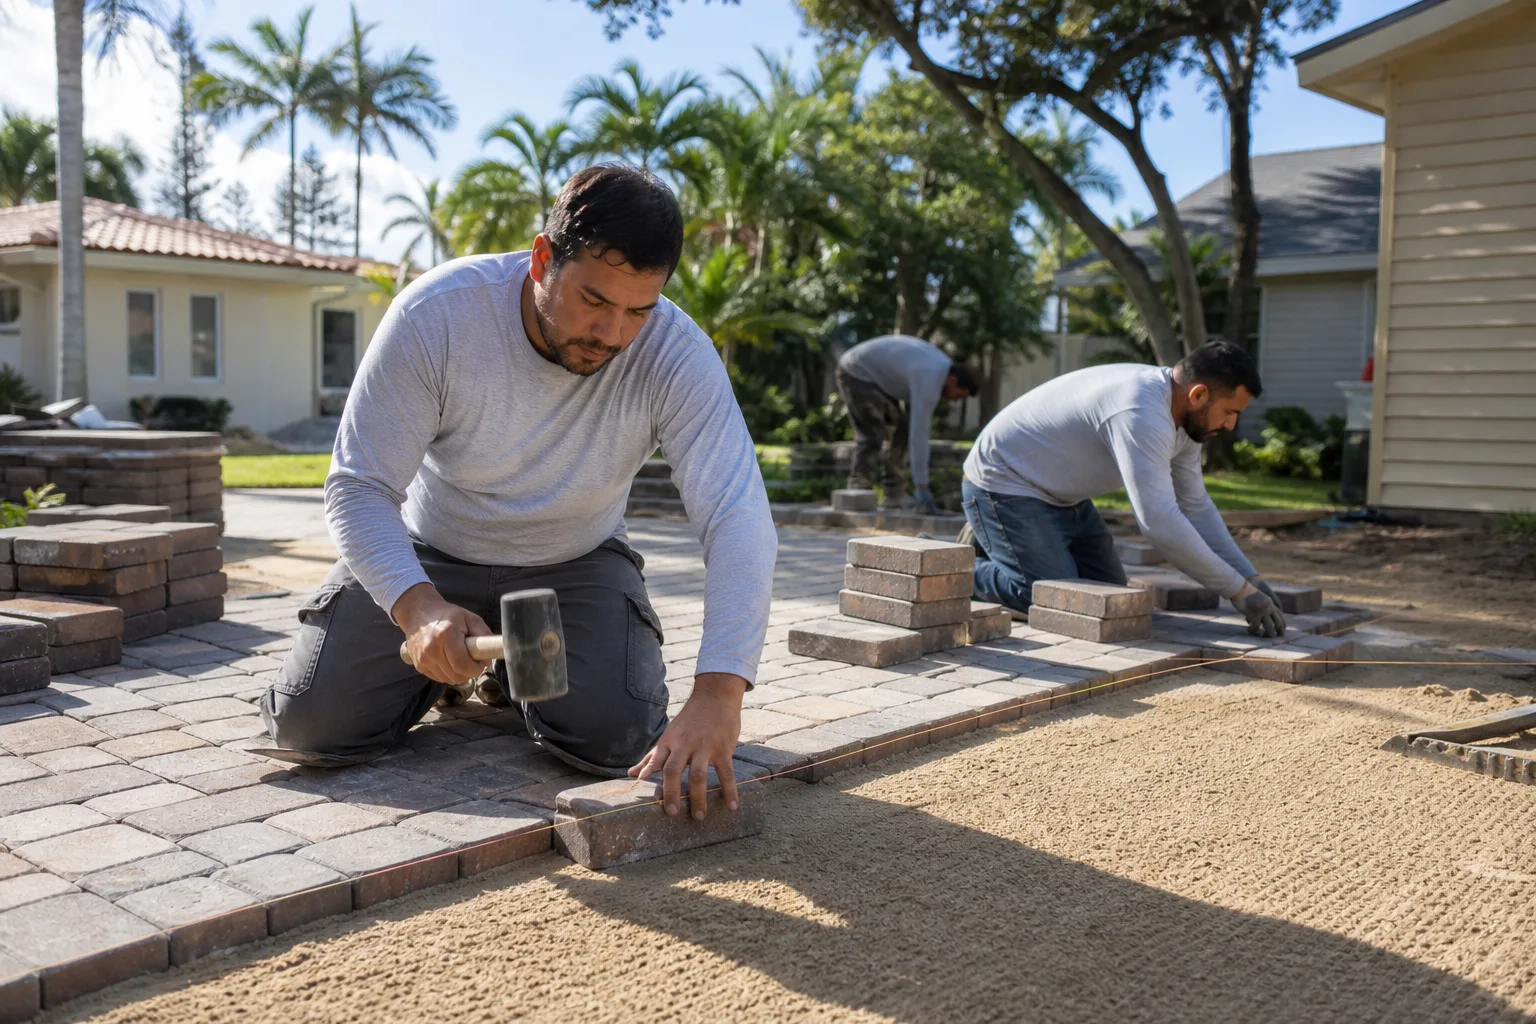
Re-establish restraint before summer, not after. Once July arrives, the pavers are at maximum expansion and pushing the restraint outward. Fix it in April or May, when the field is at a mid-point in its thermal cycle. Resetting a loose restraint means lifting the outermost two courses, re-setting the anchor into compacted base, and re-sanding the joint behind it. On a typical Palmdale driveway, that’s a two- to four-hour job for a crew and one of the higher-value maintenance items on this list.
This matters beyond the driveway. If you’re planning a garage conversion or an ADU, the driveway and apron often need to be brought back into service before the project starts – our Home Additions & ADU in Palmdale page covers how access and grading get planned around the existing driveway.
Sealers Rated for UV Index 10+ and How Often to Apply
Sealer does two jobs: it slows UV degradation of the polymeric sand and it reduces water intrusion into the joints. In Palmdale, the second job is smaller than most people assume, because we get so little rain. The UV part is where the real work happens.
Not every sealer is built for a UV index that runs 10+ through the summer. Products from Techniseal and Surebond are formulated for high-exposure desert conditions; look for the manufacturer’s stated UV rating on the label, not just “exterior grade.” A general-purpose acrylic sealer from a big-box shelf may look fine for a season and then break down in year two.
Application intervals in Palmdale differ from coastal guidance. Where coastal installers recommend sealing every three to five years, we recommend a re-application every two to three years on a sun-exposed driveway. A south- or west-facing surface with no shade may need a touch-up on a two-year cycle. East-facing and shaded driveways can sometimes stretch to three.
How to Test Whether the Sealer Is Still Working
- Pour a small cup of water onto the surface. If it beads up and sits, sealer is intact.
- If it soaks in within a few seconds, the sealer has worn through and it’s time to re-apply.
- Check the same spot after a summer. A surface that beaded in April and soaks in October is telling you the annual UV load.
Surface prep matters more than the sealer brand. Sealing over dust, grit, or old failed sealer traps it in place. Clean first, let it fully dry, then apply with a roller in two thin coats rather than one heavy one. Two thin coats perform better in direct sun than one heavy coat, which can trap moisture and cloud the surface.
Scaling, Efflorescence, and When to Replace vs. Seal
Not every worn paver needs to come up. The question is: is the problem surface-level or structural? Here’s the framework we use.
- Cosmetic scaling or efflorescence: Seal it. Surface bloom that brushes away, light flaking, or color fade from UV is a maintenance item, not a replacement.
- Scaling deeper than 1/8 inch: Replace the affected units. When the aggregate is exposed and the surface crumbles under a fingernail, the paver’s structural top layer is gone. Sealing it just hides the problem for a season.
- Displacement over 1/4 inch: Lift and reset the unit, and inspect the base beneath it. If the base has failed, that’s the actual problem – the paver on top is a symptom.
- Rocking pavers: Reset with new bedding sand and re-sand the joint. Rocking pavers chew up the base beneath them each time they move.
- Failed joints in a wide band: If more than about 20 percent of the joints have lost sand, plan a full re-sand rather than a spot fix. Partial re-sands tend to look patchy and re-fail first.
Palmdale-specific: the hard water in the Antelope Valley (the aquifer is on the mineral-rich side) leaves white deposits on pavers after sprinkler overspray. That’s not efflorescence, it’s mineral scale from the irrigation source. A test: if the bloom appears only near a sprinkler head, it’s water scale. If it appears across the field and returns after a rain, it’s likely moisture from below, which is a drainage issue.
DIY Supply Costs vs. Contractor Quotes in Palmdale
Here’s the honest math on maintaining a typical 400-square-foot Palmdale driveway. These are Palmdale-market ranges; your numbers will vary with square footage, sealer brand, and condition.
- Polymeric sand (rated for high UV): $40-$70 per 50-lb bag; a 400-sq-ft driveway typically needs 4-6 bags, so $160-$420 in material.
- Sealer (Techniseal or Surebond-type, UV-rated): $90-$160 per 5-gallon pail; one pail covers roughly 250-400 sq ft per coat, so two coats run $180-$320.
- Rental plate compactor with rubber pad: $60-$110 for a half-day in the Antelope Valley.
- Miscellaneous: shop vac bags, roller, brush, a bucket – $30-$60.
- Total DIY supply cost per re-sand and seal cycle: $430-$910 depending on driveway size and product tier.
For a contractor-performed re-sand and seal in Palmdale, written quotes typically land in the $1.10-$2.00 per square foot range for a combined job, with a minimum job charge. On a 400-sq-ft driveway, that’s roughly $440-$800 – sometimes close to the DIY material cost, sometimes higher depending on prep and the condition of the joints. Larger driveways and driveways with perimeter restraint work trend higher.
Breakeven Analysis
On a small to mid-size driveway, DIY and professional re-sand-and-seal costs land in the same broad window. Where the professional quote earns its premium is in the parts a DIY job tends to skip: proper joint cleaning before re-sanding, real compaction, and edge restraint inspection. A DIY job that skips compaction or restraint work typically fails earlier and costs more in the long run than the quoted difference. On large driveways, the material cost curve means the professional-per-square-foot rate usually overtakes DIY. Bottom line: for a 400-sq-ft driveway, DIY is realistic for a homeowner with a free weekend and a compactor rental. For anything larger, or any driveway with perimeter issues or failed base, a professional re-sand and seal is the better math.
The Palmdale Seasonal Maintenance Calendar
Timing matters more here than in coastal California. Here’s a month-by-month framework.
- March-April: Full inspection, perimeter check, edge restraint repair. Reset any displaced pavers. Test sealer condition. This is the right window because the field is mid-thermal-cycle and the base has dried from winter rain.
- May: Re-sand if joints are losing material, then seal before the first 100°F day. Sealing in June is harder – the sealer skins too fast in the heat and can leave lap marks.
- June-August: Do not seal. Inspect for windblown grit and hose off debris. Address any downspout that dumps onto the driveway.
- September-October: Second inspection. Re-sand and re-seal the second cycle if you’re on a two-year rotation. Photograph everything as the baseline against spring.
- November-February: Watch the perimeter. Freeze-thaw overnight cycles are when restraint issues show up. Clear grit from joints after significant wind events. Skip sealing – cold nights keep the polymer from curing.
For homeowners in west Palmdale, Quartz Hill, or the Rancho Vista area, wind exposure tends to push the re-sand cycle a few months earlier. Central and east Palmdale lots with more built-up surroundings generally track the standard calendar.
Common Mistakes to Avoid
- Applying polymeric sand over a damp surface. In Palmdale, morning dew counts. The polymer won’t set, and you’ll lose the sand within weeks.
- Skipping compaction. A broom-swept joint without compaction looks fine for a season and then fails. The plate compactor is what seats the sand against the paver walls.
- Sealing over dirty joints. Dust and grit from the Antelope Valley wind trap under the sealer and produce a cloudy finish that doesn’t come off.
- Ignoring edge restraint. Perimeter movement is the first thing to fail in high-desert climates, and it’s the cheapest fix when caught early.
- Using general-purpose sealer. An acrylic sealer not rated for UV 10+ exposure will break down in year two at Palmdale’s sun load, which is a cost not a saving.
- Sealing in July. High heat makes most sealers skin over before they level, leaving streaks and lap marks. Seal in late spring or early fall.
- Treating irrigation scale as efflorescence. Hard water overspray from sprinklers is a different problem than mineral bloom from below, and it’s addressed at the irrigation head, not with a paver treatment.
See the difference
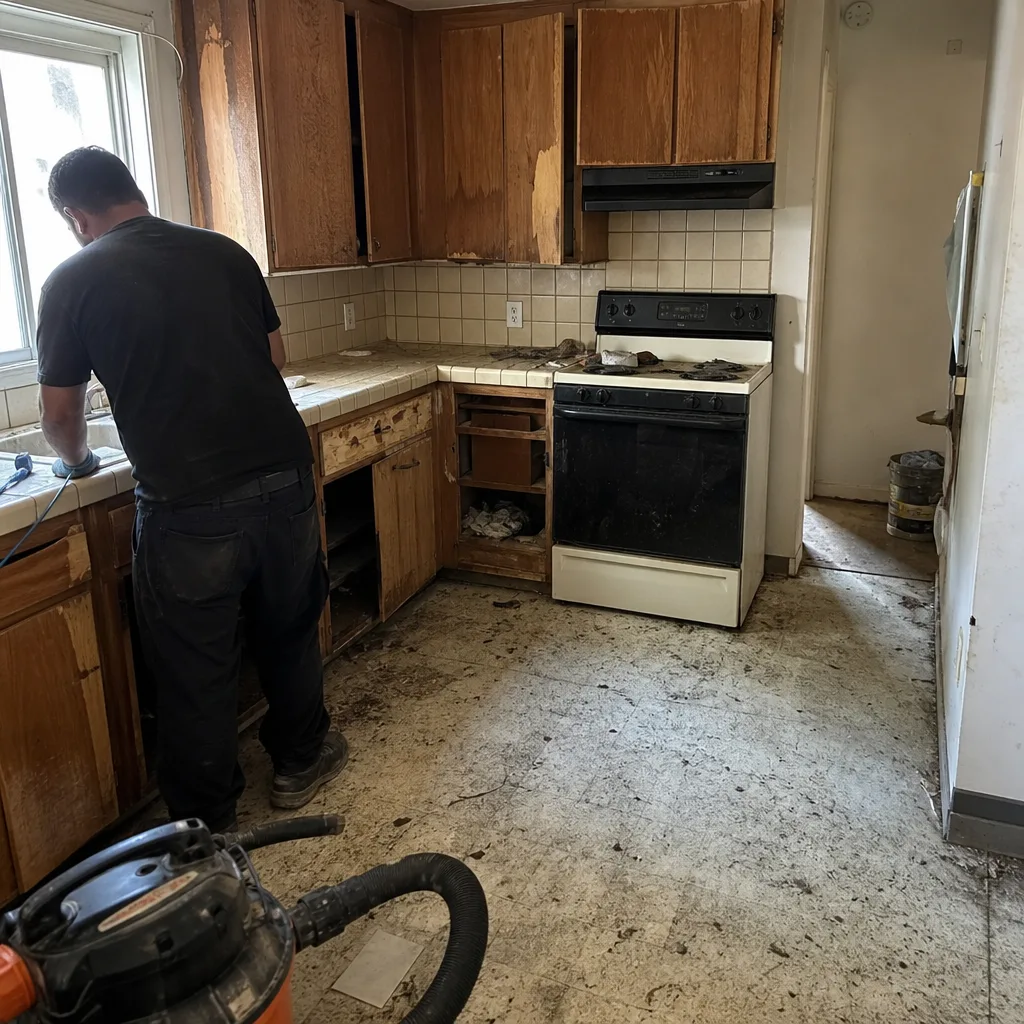 Before
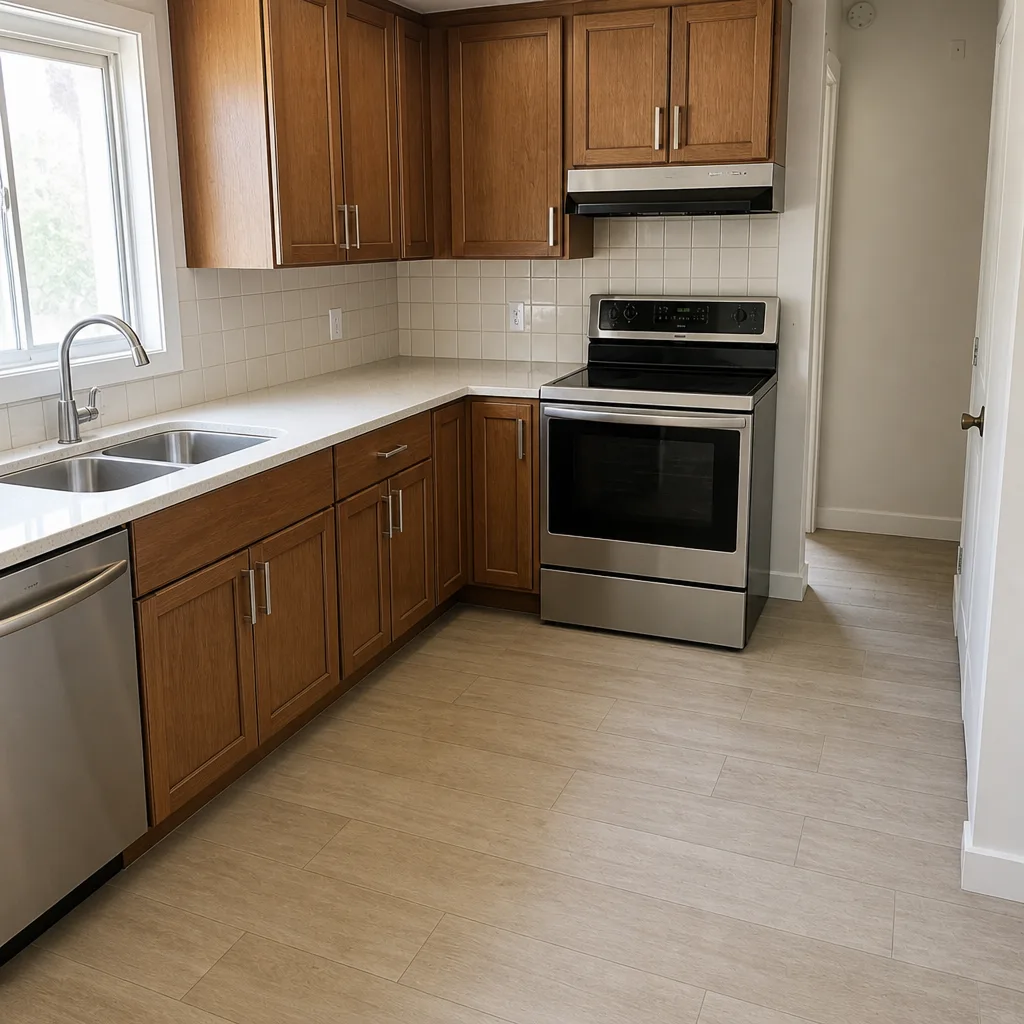 After
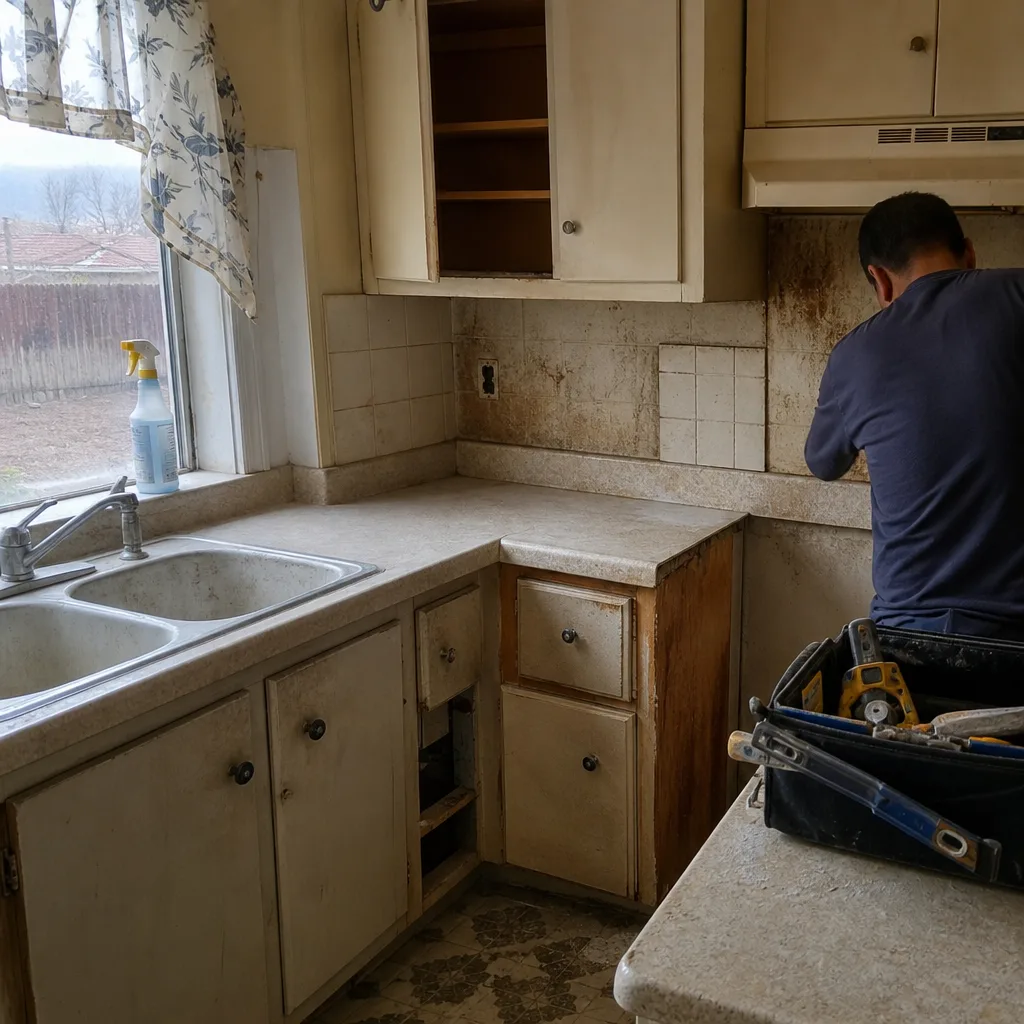 Before
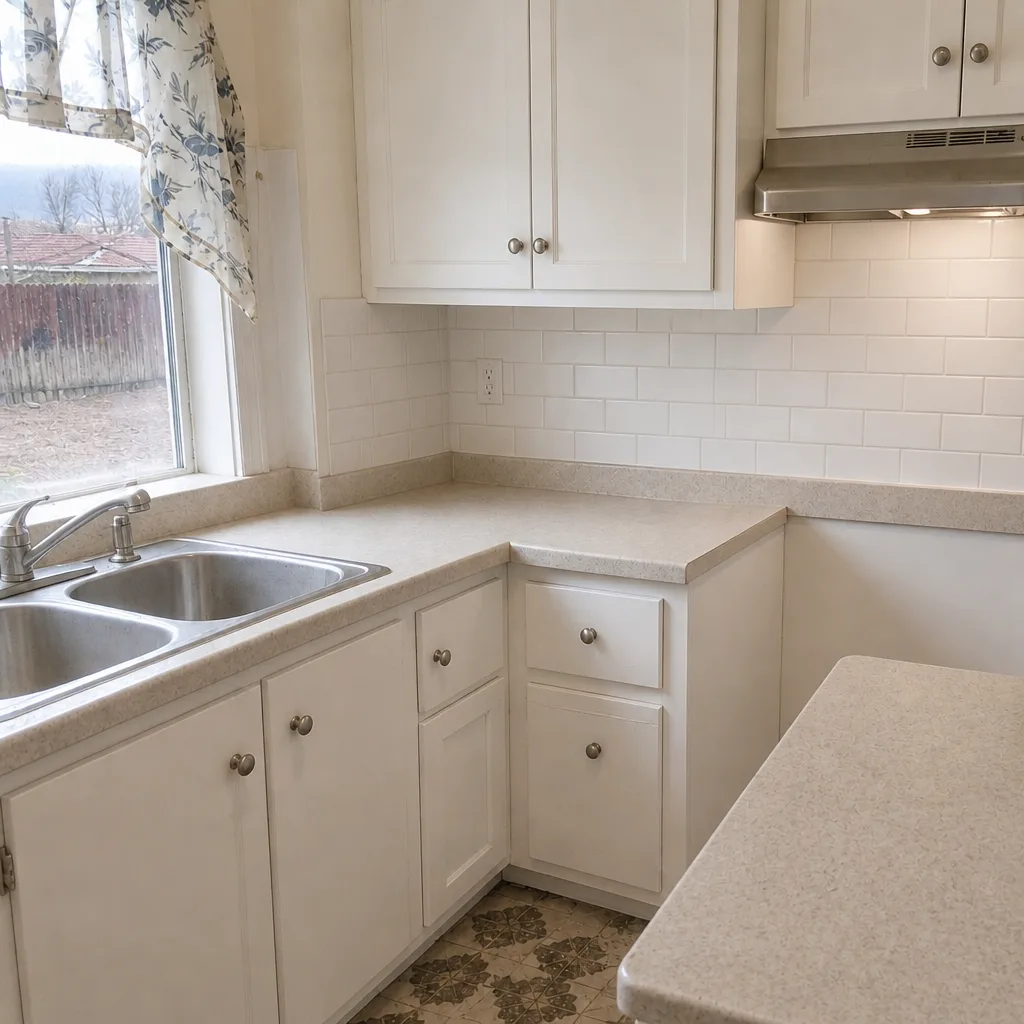 After
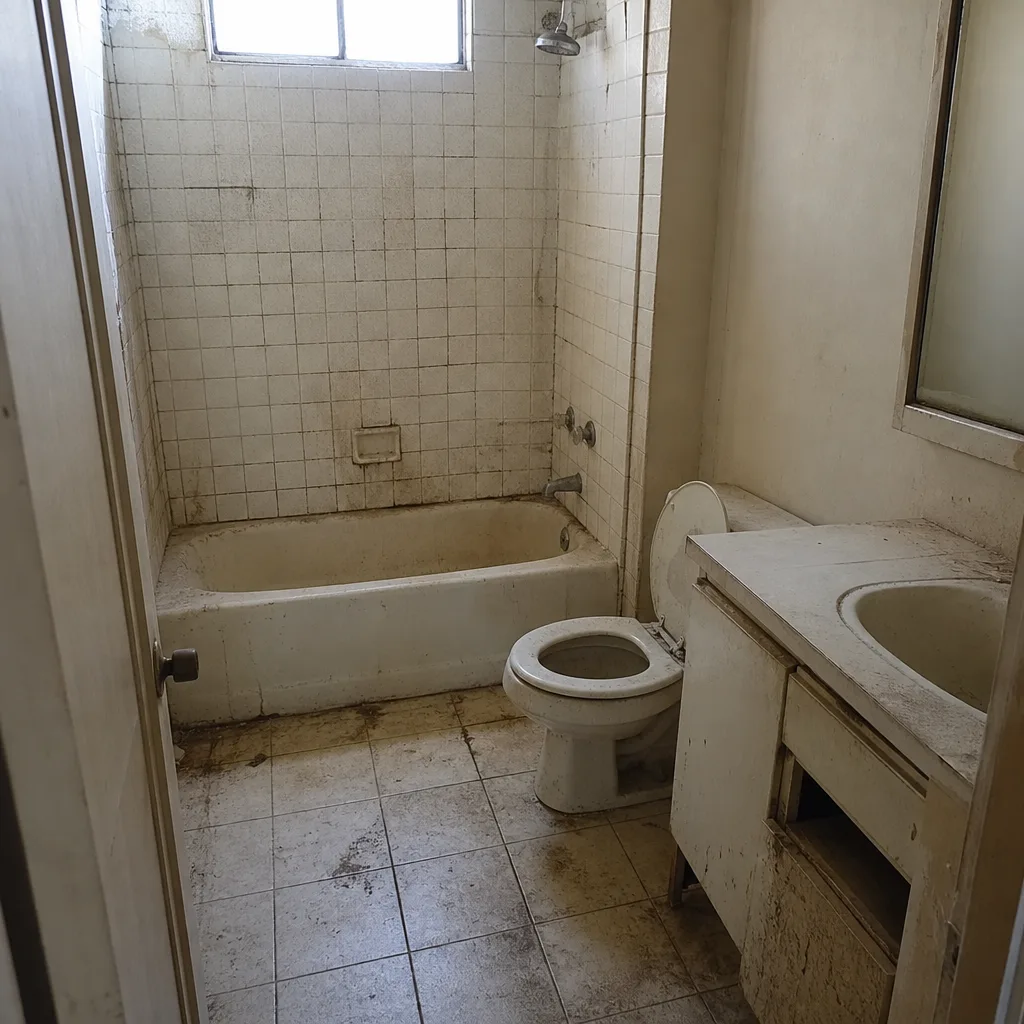 Before
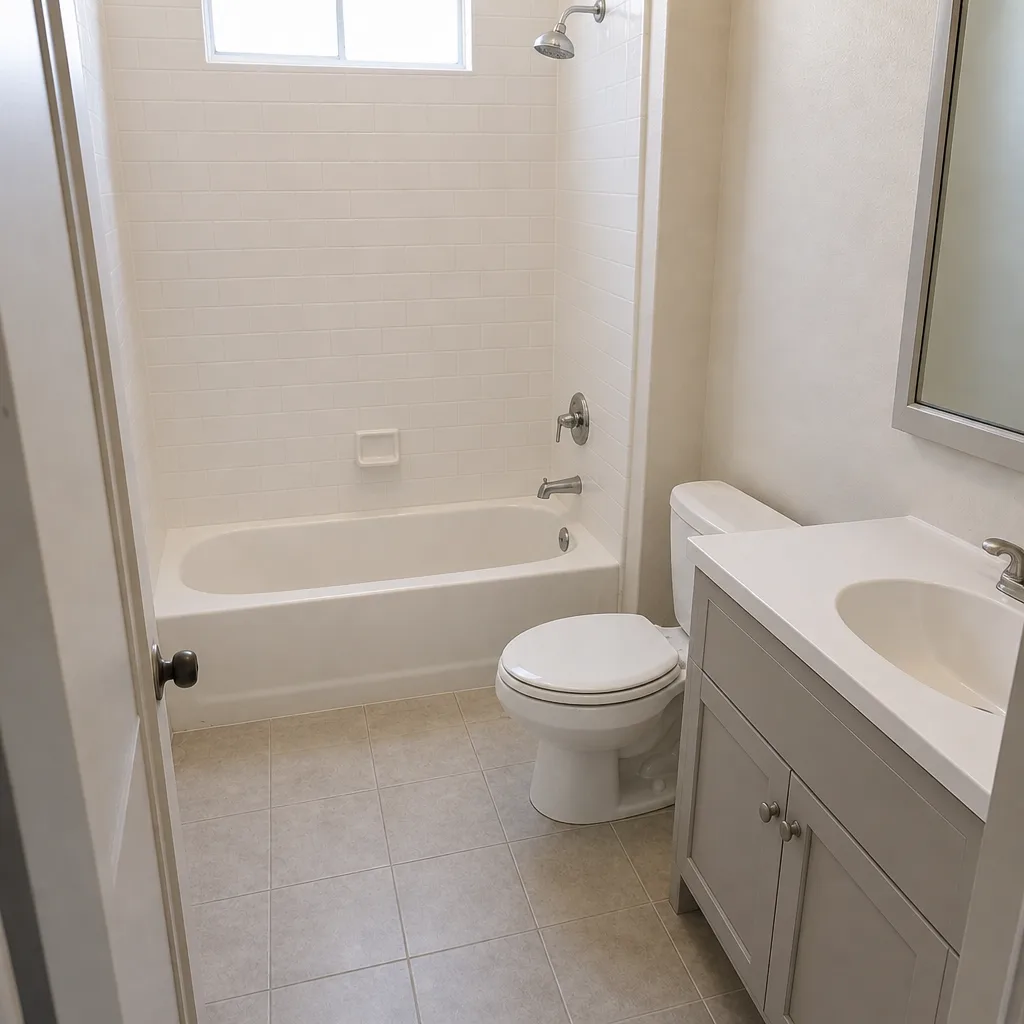 After
When to Call a Professional
Some of this list is genuine weekend work – inspection, sweeping, spot sealing. Some of it isn’t. Call a professional when you find structural displacement over 1/4 inch across more than a few pavers, when the base under the apron has heaved, when edge restraint has pulled away along a long run, when scaling runs deeper than 1/8 inch, or when the driveway drains toward the garage and needs grading. Base failure isn’t a maintenance item – it’s a rebuild, and it needs to be diagnosed before anything goes back on top. Rowan Construction Group Palmdale offers free estimates in Palmdale and a free second opinion on any written quote you’ve already received. We’ll put a flat written price and written scope in front of you before anyone picks up a tool. Call (844) 320-8244.
Frequently Asked Questions
Plan on every two years, sometimes sooner on sun-exposed driveways. Palmdale’s UV index of 10+ breaks down polymeric sand faster than coastal guidance assumes, so where a beach-city homeowner might get three to four years, a Palmdale driveway typically needs re-sanding at the two-year mark. Call (844) 320-8244 for a free estimate on a re-sand and reseal.
Choose a sealer rated for high UV exposure – Techniseal and Surebond both make products formulated for desert conditions, and the label should state the UV rating explicitly. General-purpose acrylic sealers break down in two years under Palmdale sun load. Application interval is two to three years, not the three to five a coastal installer would quote. Call (844) 320-8244 for an exact quote.
Contractor re-sand and seal typically runs $1.10-$2.00 per square foot in the Palmdale market, with a minimum job charge on smaller driveways. On a 400-sq-ft driveway, expect roughly $440-$800. DIY material cost runs $430-$910 for the same scope, so on small driveways the numbers are close. Call (844) 320-8244 for a written line-item quote – estimates are free.
Yes, but with limits. Use a fan tip at 30 degrees or wider, keep the wand moving, and avoid a pinpoint stream on joint sand or on the paver edge chamfer. A high-pressure stream at close range will strip the polymeric sand out of the joints and leave the field more exposed than when you started. Light pressure plus a surface cleaner is the safer approach.
Quality clay and concrete pavers don’t crack from heat alone – they’re made for it. What fails in Palmdale heat is the joint sand and the sealer, not the paver. If a paver cracks, look for the cause: base movement under it, an improperly set edge, or a load that exceeded the base design. Call (844) 320-8244 and we’ll diagnose it in a free estimate.
Three signals: pavers that rock when you step on them, joints that re-open within weeks of a re-sand, and visible settlement near the perimeter or along a downspout. Any of those means the base is moving, and the fix is resetting the base – not another layer of sand on top. Call (844) 320-8244 for a written scope and flat price before anything is lifted.
The Bottom Line
Palmdale driveways need a maintenance rhythm built for a 90°F thermal swing and a UV index that runs 10+ through the summer, not the coastal schedule most paver guides assume. Inspect twice a year with a tape measure and a straightedge. Re-apply a UV-rated polymeric sand every two years, with proper compaction. Check edge restraint before summer, not after. Seal with Techniseal, Surebond, or another UV-rated product on a two-to-three-year cycle. Replace pavers that scale deeper than 1/8 inch or displace more than 1/4 inch. And when the base has moved, call a professional – a re-sand doesn’t fix a base failure. If you’d like a written scope and flat price on any of this, our Rowan Construction Group Palmdale home page is the starting point, or reach out directly. Every quote comes with a free second opinion on any written estimate you already have, a documented photo record of what we find, background-checked uniformed technicians, and the 365-Day Done Right Promise: if it isn’t done right, we make it right.
Call (844) 320-8244 for your free estimate on driveway and paver maintenance in Palmdale.
Written by the team at Rowan Construction Group Palmdale.