Last updated November 18, 2026

Free written scope consultation - allowances, timeline, and change-order rules on paper before a single trade is scheduled
Bathroom Remodeling Troubleshooting: Common Problems and How to Fix Them
Tile that cracks within 12 months of installation is almost never a tile defect. It’s a substrate movement problem, and the substrate condition was knowable before the first tile was set. That single fact explains most of the bathroom remodel failures we’re called to in Palmdale: the symptoms appear in the finished work, but the cause was present on day one, before demolition. In this guide we diagnose failures by when they surface (immediate, 3 – 12 months, 1 – 3 years), trace each one to its root cause, and explain what documentation you need before a warranty claim has any chance of succeeding.
Quick Answer
Most bathroom remodel problems fall into three timing windows: immediate defects (lippage, grout color variation, caulk gaps), mid-term failures at 3 – 12 months (grout cracking, hollow tiles, slow drains), and long-term failures at 1 – 3 years (tile delamination, mold at the wall-floor junction, persistent moisture odor). The fix ranges from $150 for recaulking to $3,000 – $9,000 for substrate repair and re-tiling, and whether that cost lands on you or the installer depends almost entirely on whether the existing condition was documented before the tile went down.
Styles & brands we work with
- Kitchen remodeling
- Bathroom remodeling
- Home additions & ADU
- Roofing
- Windows & doors
- Driveway & pavers
- Fence
Table of Contents
- Diagnosing Failures by When They Appear
- The Hollow-Tile Test and What It Tells You
- Mold at the Wall-Floor Junction: The Moisture Investigation
- Slow Drains: Venting, Slope, or Clog?
- The Ventilation-Failure Symptom Chain
- Grout Cracking and Color Variation
- Lippage Between Tiles
- What Documentation Makes a Warranty Claim Possible
Diagnosing Failures by When They Appear
Time is the best diagnostic tool you have. When a problem shows up tells a contractor almost as much as what the problem looks like, because different failure modes have different incubation periods. Here’s how we categorize them.
- Immediate (day one to week four): Grout color variation, lippage between tiles, caulk gaps at transitions between dissimilar materials. These are installation errors, not material failures, and they should be caught at the walkthrough.
- 3 – 12 months: Grout cracking along joints, tile hollow spots, a drain that starts slow. These point to substrate movement, adhesive coverage, or a plumbing issue that’s slowly manifesting.
- 1 – 3 years: Tile delamination (tiles lifting off the wall or floor), mold at the wall-floor junction, and a persistent damp smell that won’t leave even after cleaning. These are almost always moisture intrusion or a failed waterproofing membrane.
In Palmdale, the timing windows shift slightly. The high desert’s dry summers and cool winters mean less ambient humidity year-round than coastal Los Angeles, which slows visible mold growth in a shower that drains correctly but accelerates it in one where the membrane has failed. The moisture is trapped, not ambient, so the dry climate doesn’t save a bad installation. If you’re planning a remodel from scratch and want to get the waterproofing right the first time, Rowan Construction Group Palmdale home covers the process in detail; our crews document the membrane installation with photos before tile goes down.
The Hollow-Tile Test and What It Tells You
A hollow sound under a tile means the tile isn’t fully bonded to the substrate, and that’s an adhesive coverage problem. You can run this test yourself with a wood dowel or a coin: tap the surface of each tile with a light, even strike and listen. A solid, dull tap means full contact. A hollow, ringing tap means there’s an air pocket or void under the tile. Walk the entire shower or floor and mark the hollow tiles with painter’s tape.
Coverage standards are where this gets interesting for warranty claims. The industry standard for adhesive coverage under tile in dry areas is 80%; in wet areas (showers, tub surrounds, floors that see regular water), it’s 95%. Contractors in Palmdale are pulling permits through the City of Palmdale and Los Angeles County building departments, and inspectors check for this. If you tap a shower wall tile and hear hollow, that tile is already at risk of delaminating, and if it does, well-bonded tile at 95% coverage should never have that problem.
Here’s what the hollow test does not tell you: whether the underlying substrate (the cement board or membrane) is flat, sound, and properly bedded. That underlies the tile. If the hollow sound isn’t isolated to one or two tiles but covers an entire wall, the substrate itself may have failed, and that’s the $3,000 – $9,000 scenario. Hollow tiles that are already cracking or lifting require re-tiling, not just a little more thinset patch. In a Palmdale bathroom where the test turns up multiple hollow tiles, we typically recommend a full substrate inspection before any repair is priced.
Mold at the Wall-Floor Junction: The Moisture Investigation
Mold at the junction of a shower wall and the floor is a moisture intrusion problem, not a cleaning problem. Scrubbing it off the surface will not stop it coming back. Before any demolition, a contractor should be able to explain exactly what testing they ran and what readings they got. Here’s the sequence a proper moisture investigation should follow.
- Visual inspection: The contractor documents the mold location, extent, and color (black, green, white) and takes photos. They note whether the caulk line has failed.
- Moisture meter readings: A penetrating moisture meter is pressed against multiple points across the shower wall, floor, and adjacent drywall on the other side. The readings tell you how much moisture is in the substrate, not just the surface.
- Thermal imaging: An infrared camera reveals temperature differences behind the tile. Cool spots mean moisture, because wet material conducts heat differently than dry. This is non-destructive.
- Documentation: A contractor should provide the meter readings and thermal images in writing, with before/after photos. This is what you present to an installer if you’re making a warranty claim.
If the investigation shows moisture in the wall cavity behind the tile, the tile and substrate come out. There’s no way around it.
What Each Test Detects
- Moisture meter: Quantifies water content in wood, drywall, and concrete substrate within the reading depth.
- Thermal imaging: Maps temperature variance, showing where moisture is trapped.
- Visual documentation: Establishes a record of what the contractor found and when.
Your right to recovery against an installer depends on this paper trail. If the contractor can’t produce it, the burden shifts to you.
Slow Drains: Venting, Slope, or Clog?
A slow drain is one of the most misdiagnosed problems in bathroom remodeling. What you hear tells you which of three causes you’re dealing with.
- Gurgling or a bubbling sound coming from the drain: The P-trap vent is blocked or improperly installed, and the drain is fighting the vent. Fix: re-vent the trap arm to code (usually $150 – $450).
- A hissing sound with no visible backup: Drain line slope is too shallow. The drain is moving water but not fast enough. Fix: re-slope the segment (can range from $800 to $3,500 depending on access).
- A flat, quiet, slow drain with no sound: Clog in the P-trap or hair trap. Fix: disassemble and clear the trap ($100 – $250).
The first two are code issues, which means a permitting inspector should have caught them before sign-off in Palmdale. In our experience, a slow drain on a new bathroom that the homeowner accepted at walkthrough is a liability that should have been addressed before the tile was mortared in place. If it’s P-trap venting, there’s no way to fix it without demo around the drain; if it’s a slope issue, the correction happens under the floor. Either way, it costs money and the plan to address it should be in writing.
The Ventilation-Failure Symptom Chain
If your bathroom mirror fogs up 30 minutes after a shower while the fan is still running, you either have a fan that’s too small (undersized), a duct that’s disconnected, or a duct that terminates in the attic rather than through the roof or wall to the exterior. The first two are common in Palmdale, the third is a code violation.
How to verify without opening the ceiling:
- Check the duct exit: Look for a vent cap on the exterior wall or roof above the bathroom. No exterior cap means the duct terminates in the attic or another space.
- Test fan airflow with a tissue or toilet paper sheet: Hold a tissue near the fan grille. If it barely moves, the fan is undersized or the duct is blocked. A properly sized fan for a bathroom with a shower is typically 80 – 110 CFM (cubic feet per minute).
- Check for a disconnected duct: Some access panels in attics reveal whether the flex duct has come loose from the fan housing. An inspector or HVAC contractor can verify quickly.
A fan that terminates in the attic isn’t moving air out of the house; it’s moving moisture straight into the ceiling cavity, which leads to mold growth and eventually ceiling damage. That’s a problem that has nothing to do with the fan being weak, and a bigger fan won’t fix it. In Palmdale, the fix is to route the duct to the exterior and ensure the roof cap is properly flashed and sealed.
Grout Cracking and Color Variation
Grout cracking is the bathroom remodel symptom most likely to be dismissed by a contractor, and also the one most likely to indicate substrate movement. When you see cracks along grout joints, trace the crack pattern.
- Cracks in a straight, continuous line suggest movement along a substrate seam (a joint between two cement board panels or a backer board seam).
- Cracks that follow a circular or curved pattern point to a localized subfloor problem, like a loose subfloor panel or a fastener that wasn’t properly screwed down.
Grout color variation is mostly a mixing error. Different batches mixed at different water ratios produce color inconsistency, and too much water in the mix weakens the grout, making it more liable to crack and crumble. Non-sanded vs. sanded grout choice matters too: sanded grout in wide joints (≥1/8 inch) is standard, but non-sanded in tight joints prevents cracking. A contractor who doesn’t know the difference is one to call out.
The fix for cracked grout ranges from $120 – $250 for a small area (regrout) to $450+ if the cracks reveal substrate movement and require a wider repair. The color variation fix is a color corrector or re-grout; don’t try to dye grout in place with a stain. Most of the time it fades or varies anyway.
Lippage Between Tiles
Lippage is the term for adjacent tile edges being at different heights, creating a visible or tactile step. Large-format tile (12 x 24 or bigger) amplifies this because the tile’s own flatness matters; a tile that’s slightly warped can’t lie perfect. The first thing to check is whether the lippage is in the substrate (the floor isn’t flat) or in the tile (the tile is defective).
Usually it’s both. If the installer used too-thin a bed of mortar, the mortar won’t bridge the tile’s natural slight warp, and you get lippage. The standard install method includes a 3/8-inch to 1/2-inch notch trowel, and back-buttering the tile. If the problem runs across a whole floor, the installer may have set tile directly over a wavy floor without a self-leveling compound or a thicker underlayment.
Fixing lippage is one of the most expensive small fixes in a bathroom: $400 – $900 to re-set a limited area, and if the floor is already tiled and grouted, removal and re-setting is the only repair. In Palmdale, pre-installation checks include a floor flatness check (a straightedge laid across the floor and gaps measured). When we’re brought in for a second opinion on an existing floor, we measure flatness before the price is written; if it’s wrong, the fix gets documented. For a broader look at how we handle written pricing before work starts, see the Fence Installation in Palmdale guide; it’s the same approach applied differently.
What Documentation Makes a Warranty Claim Possible
The single most important document in a failed bathroom remodel is the photo taken before the work started. Here’s what a homeowner should have in hand, and what we put on record when we accept a project.
- Before photos of the existing tile, substrate, and rough plumbing
- Moisture meter readings and thermal images taken before demolition if mold or moisture was suspected
- The written scope of work, including the substrate condition documented at acceptance
- Photo record of membrane installation, thinset application, and screw placement
- The signed change order for any additions discovered mid-work
- The written warranty, including what it covers (labor and materials) and what voids it
If a contractor discovers a substrate issue after you’ve signed the quote, that issue must be documented and a change order signed before work continues. Under the Haven Standard Clause 1, Rowan Construction Group’s written price is delivered before any work starts; no change proceeds without a signed change order. The customer’s protection isn’t a handshake, it’s a written record.
When an installer offers a warranty but can’t produce photo evidence of what was done, or can’t point to their documented acceptance of the existing substrate condition, you’re relying on their memory of an event years old. If the problem is mold or moisture, the documentation chain determines who pays to fix it. On a 1 – 3 year delamination or moisture issue, the absence of a documented pre-existing condition is the thing that breaks the claim.
This is also why we take a written photo record on every visit as a standard deliverable. It’s not because a claim is expected; it’s because the records are useful regardless of outcome. If you’re comparing contractors in Palmdale, ask each one what documentation they provide before, during, and after the job. For a sense of how that documentation works across trades, the Driveway & Pavers in Palmdale page describes the process on outdoor work, and the same discipline applies indoors.
Common Mistakes to Avoid
- Accepting a verbal promise that the substrate is “fine.” Flatness and soundness are measureable. Ask for the straightedge test result and the moisture reading.
- Skipping the moisture investigation when mold shows up. Scraping surface mold and re-grouting delays a larger problem, since the same moisture keeps feeding it. A thermal scan is a $150 – $250 investment in avoiding a $9,000 redo.
- Assuming a bigger ventilation fan fixes moisture. If the duct terminates in the attic, it doesn’t matter how strong the fan is.
- Not checking the drain on day one. A slow drain at walkthrough is a code issue the inspector should have caught. Flag it before the last bill is paid.
- Buying tile before the substrate is checked. Large-format tile on a wavy floor will show lippage no matter how careful the setter is. Choose tile after the floor is flat and moisture is documented.
- Ignoring grout cracking as “just settlement.” Cracks that widen over months aren’t cosmetic. They’re a sign of movement that could propagate into tile failures.
- No written change orders. A contractor who says “we’ll sort it out later” on extra work is a contractor without a documented record. Get every change on paper and signed.
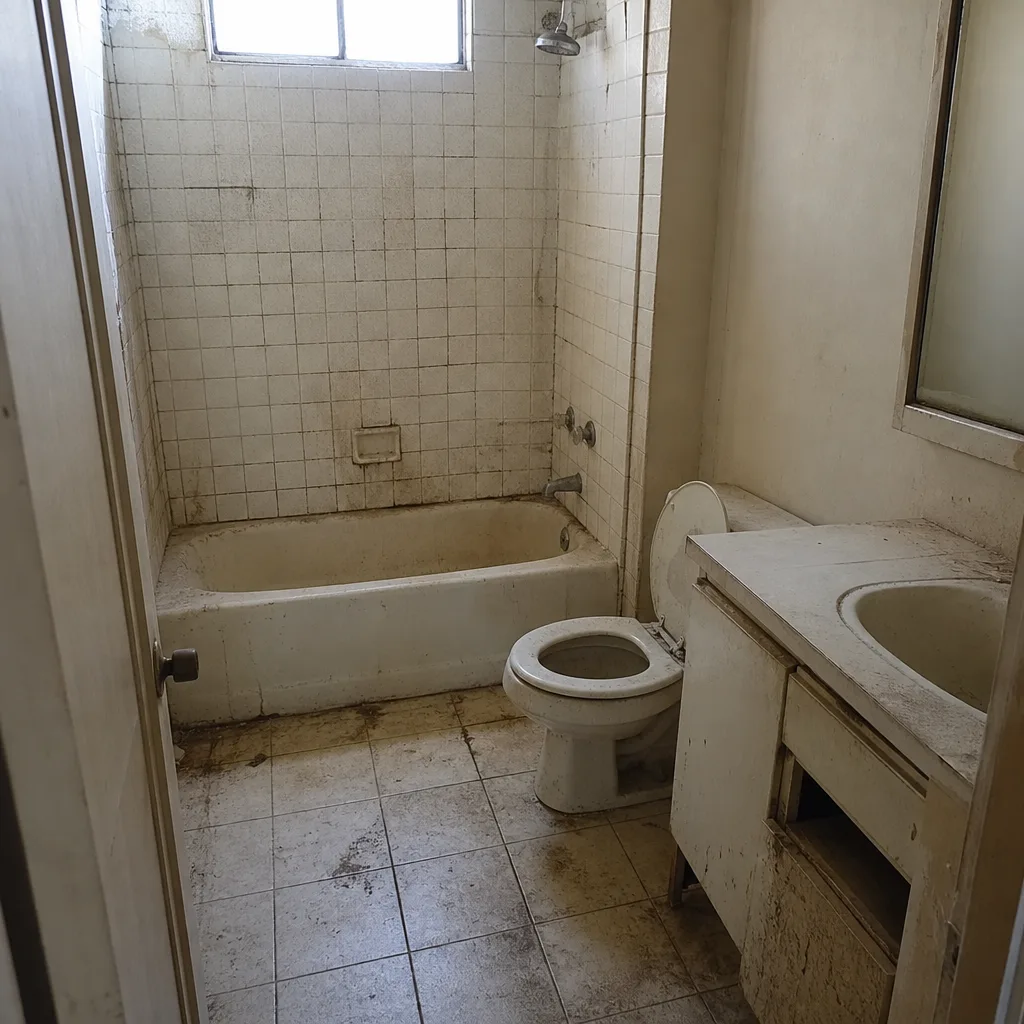
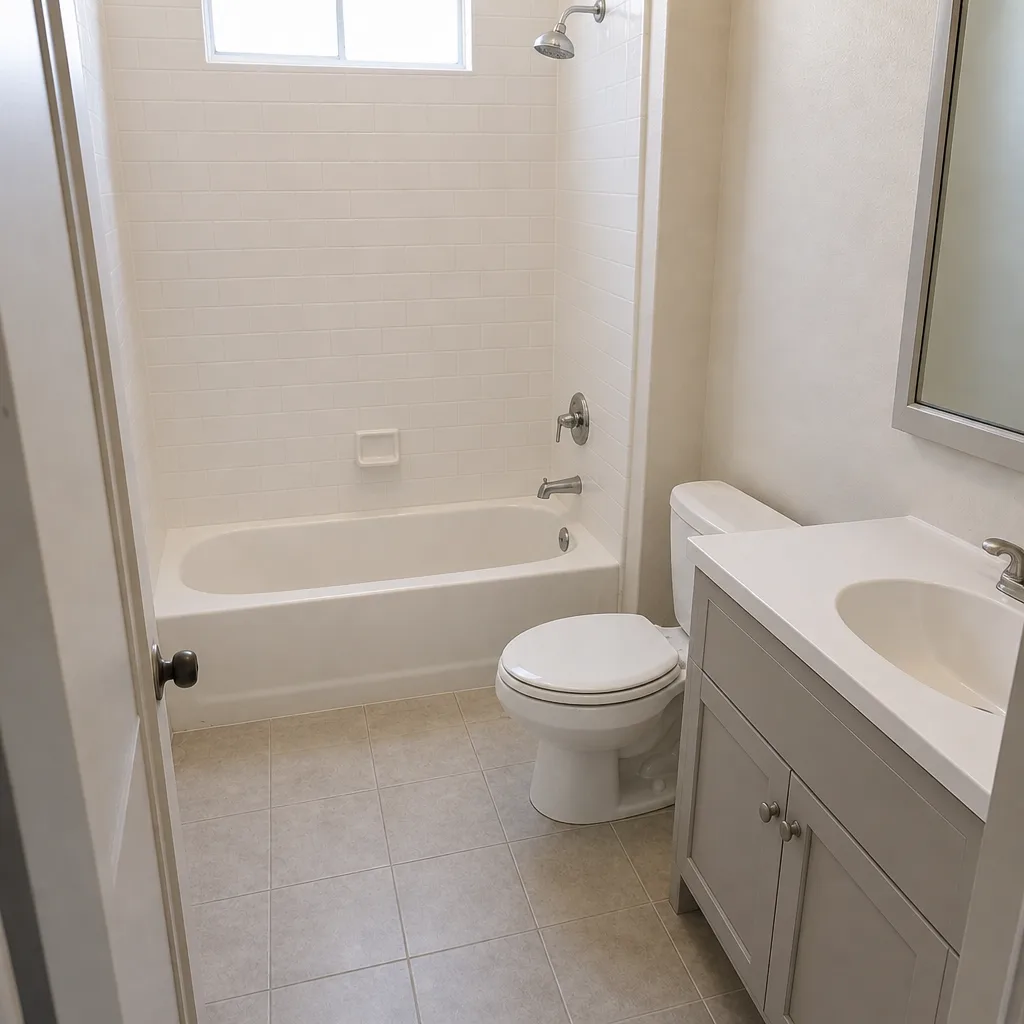
See the difference
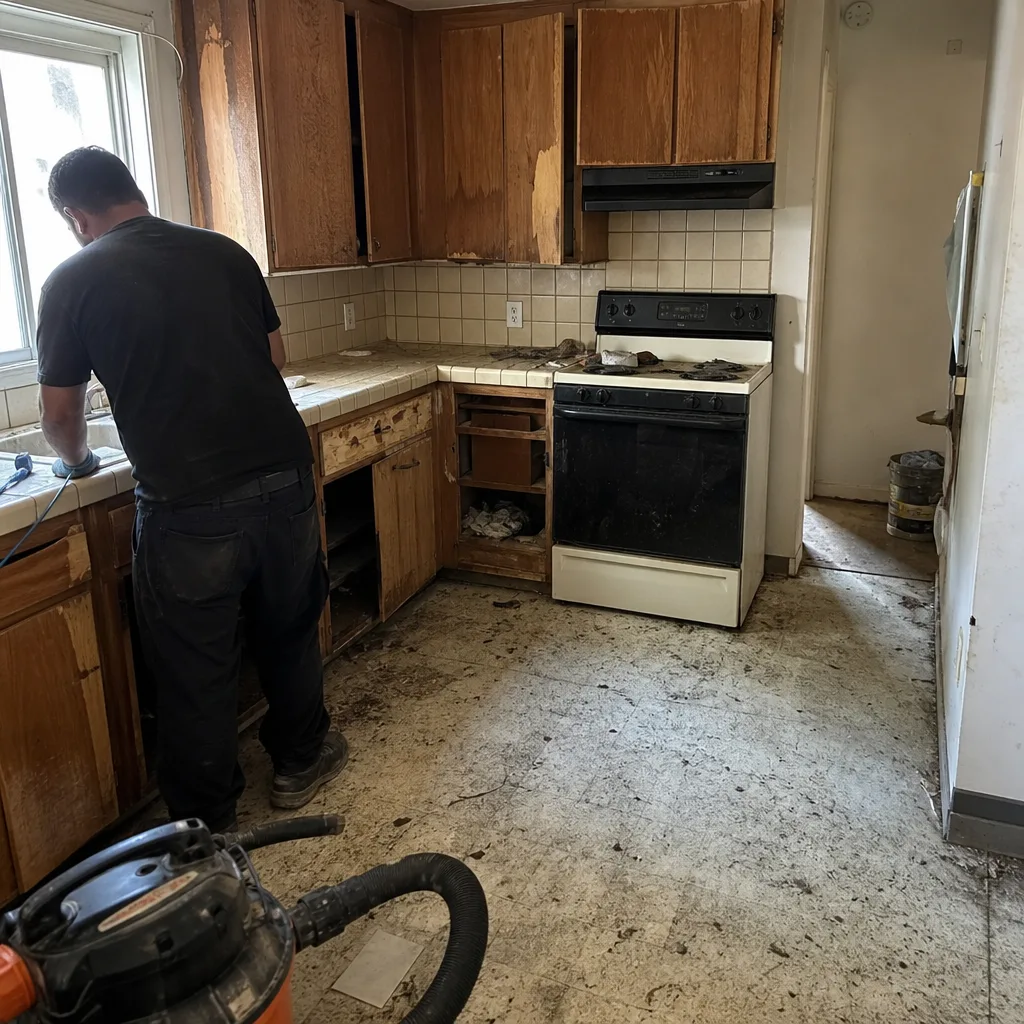 Before
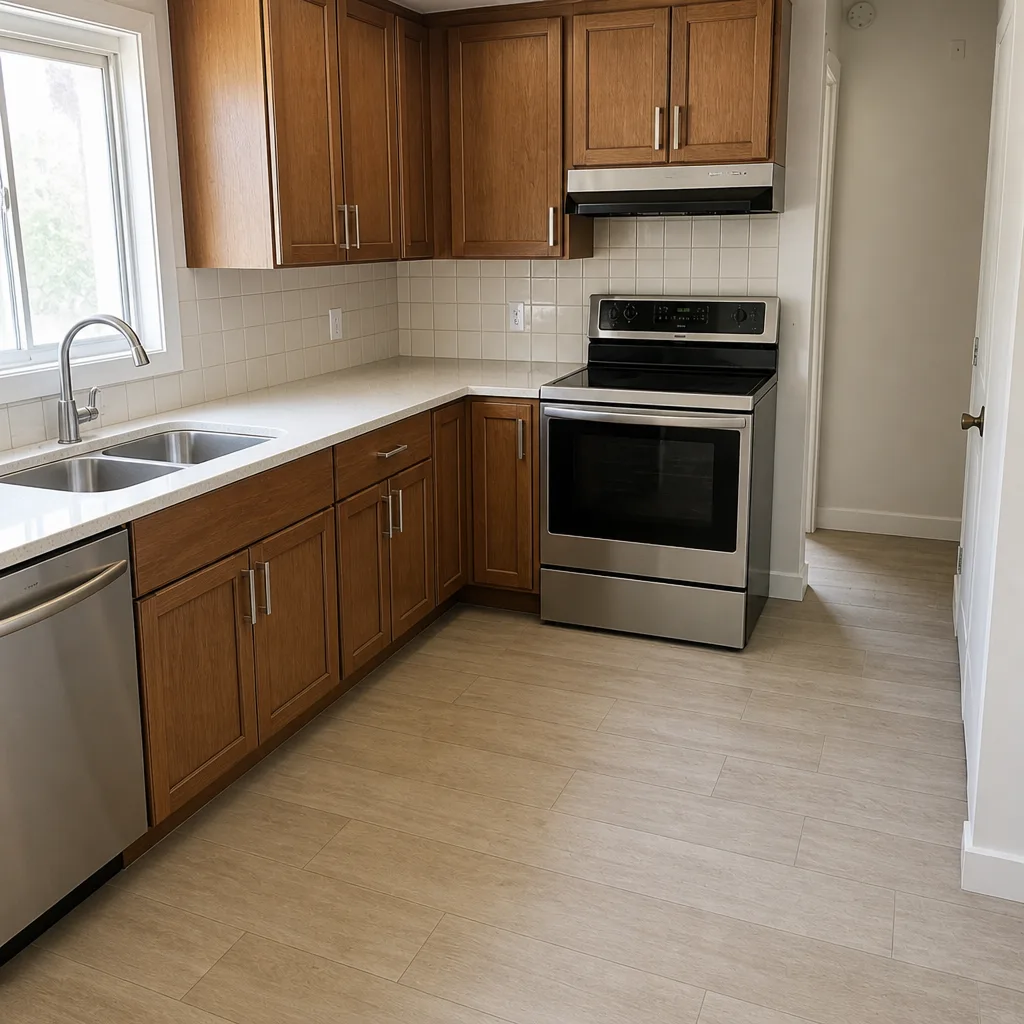 After
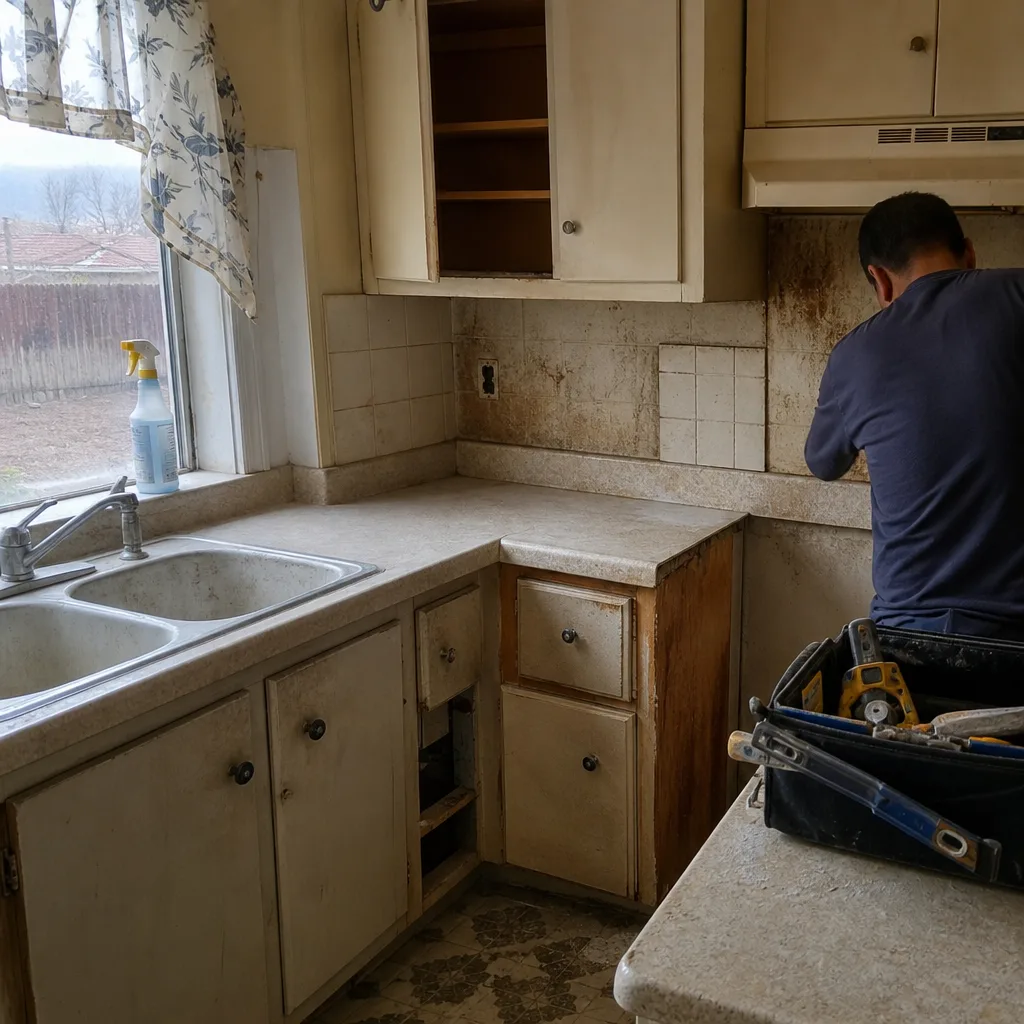 Before
 After
 Before
 After
When to Call a Professional
Call a professional when you’ve got mold at the wall-floor junction that keeps returning, when a tile has visibly delaminated or lifted, when a slow drain has been there since day one, or when your mirror still fogs 30 minutes after the fan’s been running. These aren’t maintenance items; they’re signs of something the installation or ventilation got wrong that a surface fix won’t solve. Get the moisture investigation documented before anyone starts demolition. Also call before a change returns, because whatever gets found needs to be documented and priced in writing before the crew continues. Rowan Construction Group Palmdale offers free estimates in Palmdale. Call (844) 320-8244 to set one up.
Frequently Asked Questions
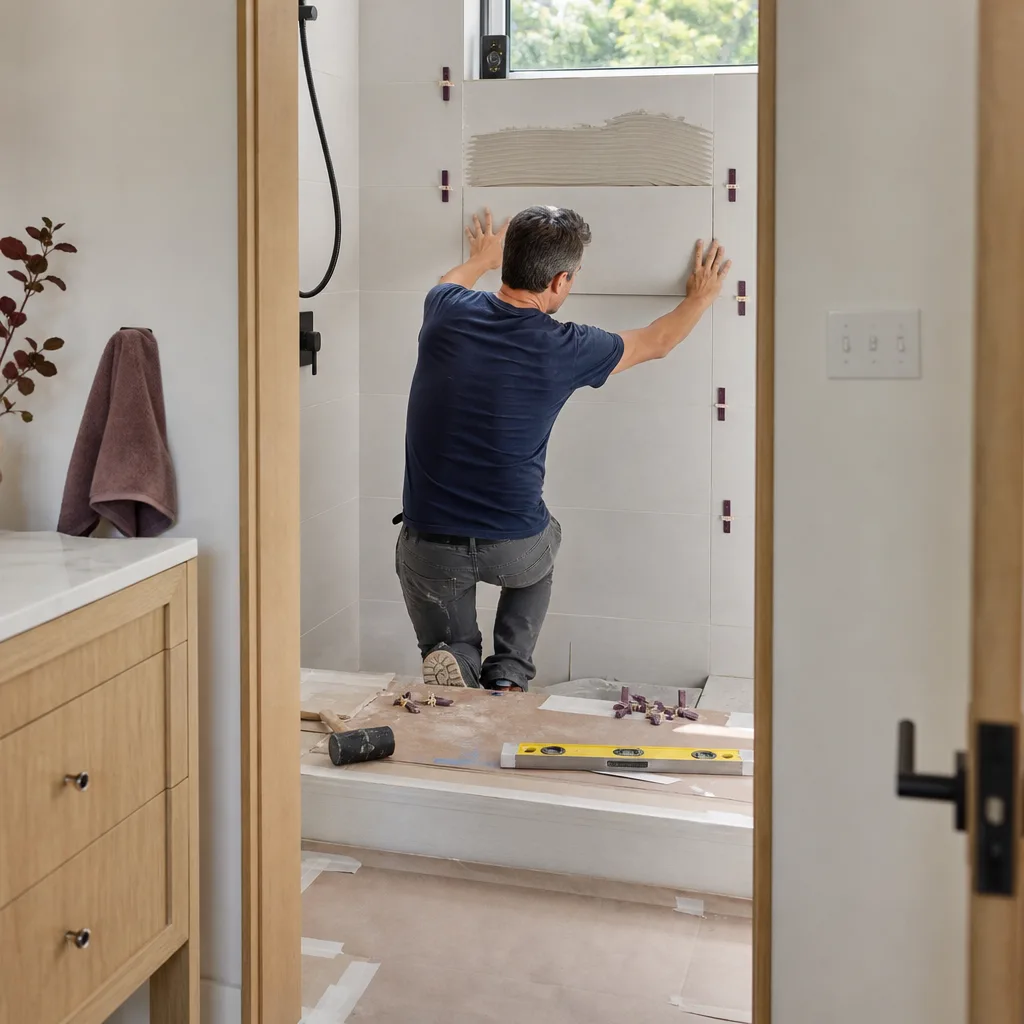
A failed tile installation in Palmdale typically costs $3,000 – $9,000 to correct, because the fix usually means removing the tile, inspecting the substrate, and re-tiling with a documented waterproofing layer. A smaller repair like re-grouting a cracked section is $120 – $250. The larger cost is driven by substrate repair and is the reason documenting the substrate before the first install matters. Call (844) 320-8244 for an exact quote from Rowan Construction Group Palmdale; estimates are free.
Tap each tile with a wood dowel or a coin using a light, consistent strike. A hollow, high-pitched tap signals a void under the tile. A solid, flat tap signals full contact. Wet areas like shower walls and floors should be installed at 95% adhesive coverage (dry areas at 80%), so any hollow sound on a shower tile is worth documenting and calling about. Call (844) 320-8244 if your test turns up multiple hollow tiles; a free estimate will tell you the scope.
A fogging mirror 30 minutes after a shower usually means an undersized fan, a disconnected duct, or a duct that ends in the attic rather than at the exterior. Check the exterior wall for a vent cap. If there’s none, the duct is likely terminating in the attic, a code violation. An 80 – 110 CFM fan is typical for a bathroom with a shower. Call (844) 320-8244 to have the ventilation checked and priced in writing.
No, but it’s always a sign of moisture. That moisture can come from a failed grout line, a gap in the caulk at the transition, a failed waterproof membrane behind the tile, or a plumbing leak. A moisture meter reader and thermal imaging reveal the source before demolition starts. Because the fix ranges from recaulking at $150 to substrate repair at $9,000, the investigation comes first. Call (844) 320-8244 for a moisture investigation quote from Rowan Construction Group Palmdale.
A slow drain in a new bathroom is one of three things: a P-trap vent issue (you’ll hear bubbling or gurgling), a drain line slope that’s too shallow (a quieter hiss), or a hair trap clog (silent and steady). Venting and slope problems are code issues and require rework under the floor; the clog is a $100 – $250 fix. If the problem existed at walkthrough, document it with photos and get a written repair scope. Call (844) 320-8244 for an estimate.
Not without your signed approval. On a Rowan Construction Group project, no work proceeds on a change until the change order is signed. If the crew opens up the floor and finds a substrate problem the original quote couldn’t know about, they document it with photos and a written estimate before any work continues. That’s the reason our projects finish within a few percent of the agreed cost. Call (844) 320-8244 for a written price before any work starts.
The Bottom Line
Most bathroom remodel problems in Palmdale can be traced to one of three root causes: substrate movement, moisture that wasn’t documented before tile went down, or ventilation that was installed wrong. Diagnose by timing first, then run the hollow-tile test, then the moisture investigation if mold appears. A slow drain on day one is a code issue that should be caught before final payment, not a maintenance item. The single most useful thing a homeowner can ask a contractor for is a documented record: photos before, during, and after. If the records exist, a warranty claim has a path. If they don’t, you’re paying for the fix. If you’re midway through a failed remodel, or planning a new one and want the price in writing before work starts, our crews bring the same documentation to every bathroom. For related work across the property, see our guides on Home Additions & ADU in Palmdale.
Call Rowan Construction Group Palmdale at (844) 320-8244 for a free estimate. Every quote comes with a written price, a written scope, and a documented record. Our technicians have up to 19 years of experience, and we’re licensed and insured. The price is written before anyone starts; that’s the whole point.
Written by the team at Rowan Construction Group Palmdale.